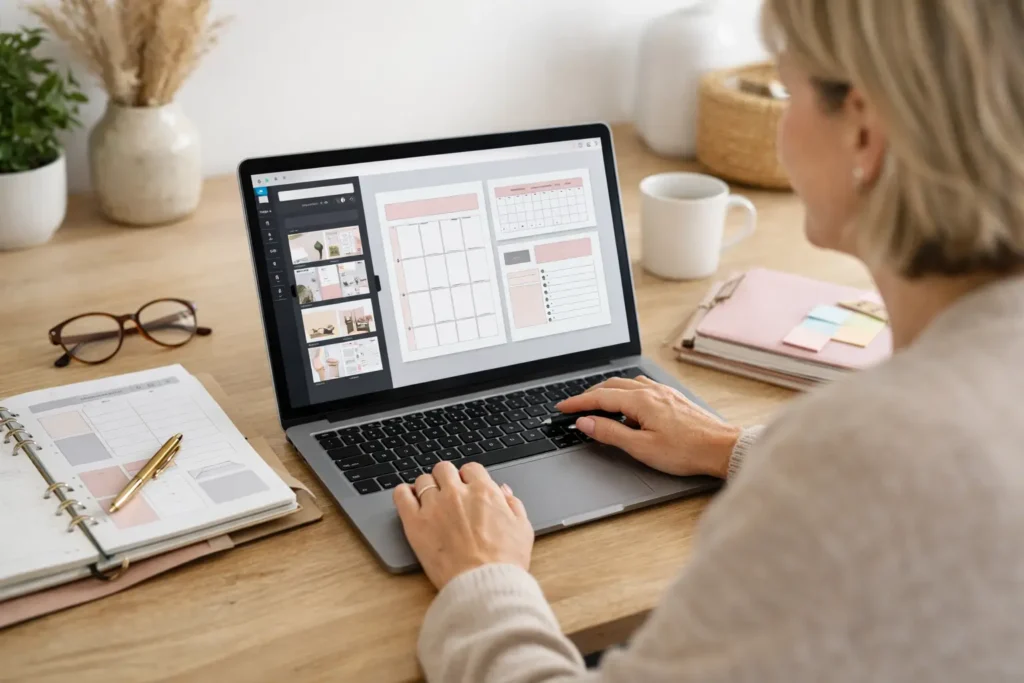
A planner does not need fancy artwork to be useful. It simply needs clear, organized pages that help someone plan their day, track a goal, or stay on top of important tasks. Learning how to make a planner in Canva is a great first project because you can start with free tools, keep the design simple, and create something people will genuinely enjoy using.
Start With One Simple Planner Idea
Before opening Canva, decide what your planner will help a person do. Trying to make a planner for every possible need can feel overwhelming. Start with one clear purpose instead.
For example, you could make a weekly meal planner for busy families, a daily planner for working adults, a budget tracker for people saving money, or a habit tracker for someone building a new routine.
Ask yourself: who is this for, and what small problem will it help them solve? Your answer guides every page you create.
A beginner-friendly planner might include a cover, a monthly calendar, weekly planning pages, daily pages, and a few tracker pages. You do not need all of these. A small, useful planner is better than a large planner filled with pages nobody needs.
Your action: Write down one planner idea and one person you want to help.
How to Make a Planner in Canva by Choosing the Right Size
Open Canva and create a new design. If you’re making a printable planner, a common choice is US Letter (8.5 × 11 inches). This size is easy for many customers in the United States to print at home.
If you prefer a smaller planner, you can choose a custom size, such as 8.5 × 5.5 inches. If you’re creating a digital planner for use on a tablet, a larger portrait layout is also a good option. If you’re not sure which size to choose, start with US Letter. It’s flexible, beginner-friendly, and works well for most planner projects.
In Canva, search for “US Letter Document” or click Create a Design and enter your custom dimensions. Setting the correct page size before you begin designing will save time later because resizing a project can shift text, lines, and other design elements.
Your Action: Create one blank US Letter Canva design and save it as the starting point for your planner.
Step 2: Choose Your Colors, Fonts, and Planner Style
A planner should feel calm and easy to use. It does not need lots of colors, decorations, or tiny details. In fact, too many design elements can make a planner harder to write on.
Choose two or three colors that match the purpose of your planner. A simple color palette could include black, white, and one soft accent color such as light blue, sage green, or pale pink. If you want a more professional look, consider using dark gray, cream, and muted gold.
Next, choose one or two fonts that are easy to read. Use a clean font for the writing sections and reserve decorative fonts for your planner cover, if you use them at all. Remember, your goal is to create a planner that is attractive and easy to read, especially when printed.
Canva includes many ready-made planner templates that you can use for inspiration. You can start with a template and customize it to fit your idea, or you can build your planner from a blank page. Don’t feel obligated to keep every page or design element. Remove anything that doesn’t support the purpose of your planner.
One of the easiest parts of making a planner in Canva is choosing a simple color palette and easy-to-read fonts.
Your Action: Choose your color palette and two fonts before designing your first planner page.
Step 3: Create a Simple Planner Cover
Your cover is the first thing people see, so keep it clean and easy to read. Add the name of your planner, a short descriptive phrase, and a simple design element if you want one.
For example:
- Weekly Meal Planner
- Plan meals. Save time. Reduce stress.
- 12-Month Budget Planner
- Daily Focus Planner
To add text in Canva, click Text from the left menu and select Add a Text Box. Enter your planner title, then use the toolbar to change the font, size, color, and placement.
You can also add a simple shape, a small leaf graphic, or a thin line behind the title. Avoid overcrowding the page. White space, which is the empty space around your text and design elements, helps your planner cover look clean, organized, and professional.
One of the easiest parts of learning how to make a planner in Canva is designing a clean, professional cover.
Your Action: Create a planner cover with a clear title that tells people exactly what the planner is designed to help them do.
Step 4: Build Your First Inside Page
Now it’s time to create the page your customer will use most often. If you’re learning how to make a planner in Canva, start with the page that provides the most value. For a weekly planner, build the weekly planning page first. For a budget planner, create the monthly budget page first.
Use Canva’s Elements tab to search for rectangle, line, or table. Rectangles work well for writing boxes, lines help separate sections, and tables are useful for layouts with rows and columns, such as spending trackers or habit logs.
For example, if you’re creating a weekly planner, add a heading at the top that says My Week. Then create seven boxes labeled Monday through Sunday. Leave plenty of space inside each box so people can easily write their plans.
You can also add a small section for priorities, notes, appointments, or a to-do list. Only include sections that support the purpose of your planner. For example, a meal planner might include grocery and meal planning sections, while a habit tracker should focus on habits and checkboxes.
If your lines or boxes are difficult to position, select them and use the Position option in Canva’s top toolbar to align everything neatly. You can also group multiple elements together so they move as a single object.
Your Action: Finish one complete inside page before creating any additional pages.
Step 5: Duplicate Pages to Save Time
One of the easiest parts of making a planner in Canva is that you do not have to design every page from scratch.
After you finish your first inside page, click the Duplicate Page icon. Canva will create an exact copy. You can then change the heading, dates, colors, or other small details without rebuilding all of your boxes and lines.
For example, you could duplicate one monthly calendar page 12 times and simply change the month name on each page. Or duplicate a daily planner page 30 times to quickly create a complete 30-day planner.
Before moving on, review each duplicated page carefully. Check that the text is spelled correctly, the dates are accurate, and all of the design elements are still aligned. Spending a few minutes reviewing your pages now can save you from correcting an entire planner later.
Your Action: Duplicate your first inside page and make one small change to the copy.
Step 6: Add Helpful Extra Pages Only When Needed
As you make a planner in Canva, remember that every extra page should have a purpose. Do not add pages simply to make your planner look bigger.
For example, a weekly planner might include a goals page, notes page, monthly overview, or habit tracker. A budget planner could include savings goals, debt payoff tracking, bill payment tracking, and expense logs.
Think about the person using your planner. What would help them stay organized or achieve better results? If an extra page does not help them plan, track, or take action, leave it out.
It is also helpful to include a simple How to Use This Planner page near the beginning. Write two or three short instructions to help your customer get started. For example:
Use the notes section to record anything that comes up during the week.
Fill in your top three priorities first.
Add your appointments and tasks.
Your Action: Add one extra page that directly supports your planner’s main purpose.
Step 7: Check, Download, and Test Your Planner
Now that you’ve learned how to make a planner in Canva, take a few minutes to review your work before downloading it. Check the page order, spelling, font sizes, and alignment. Make sure important text is not too close to the edge, where home printers may trim it.
For a printable planner, click Share, then Download, and choose PDF Print. This format provides the best quality for printing. If Canva gives you the option to flatten the PDF, you can usually leave it turned off unless you have a specific reason to use it.
For a digital planner, a standard PDF is often the best choice. The right format depends on how your customers plan to use it. Printable planners need plenty of writing space, while digital planners may include clickable tabs and links, which are more advanced features you can learn later.
If possible, print one page at home before selling or sharing your planner. This simple test will help you see whether the writing areas are large enough and the text is easy to read. You may discover that a color is too light or a box needs more space. That’s a normal part of creating a high-quality digital product.
Your action: Download your planner as a PDF and test at least one page before calling it finished.
Keep Your First Planner Simple
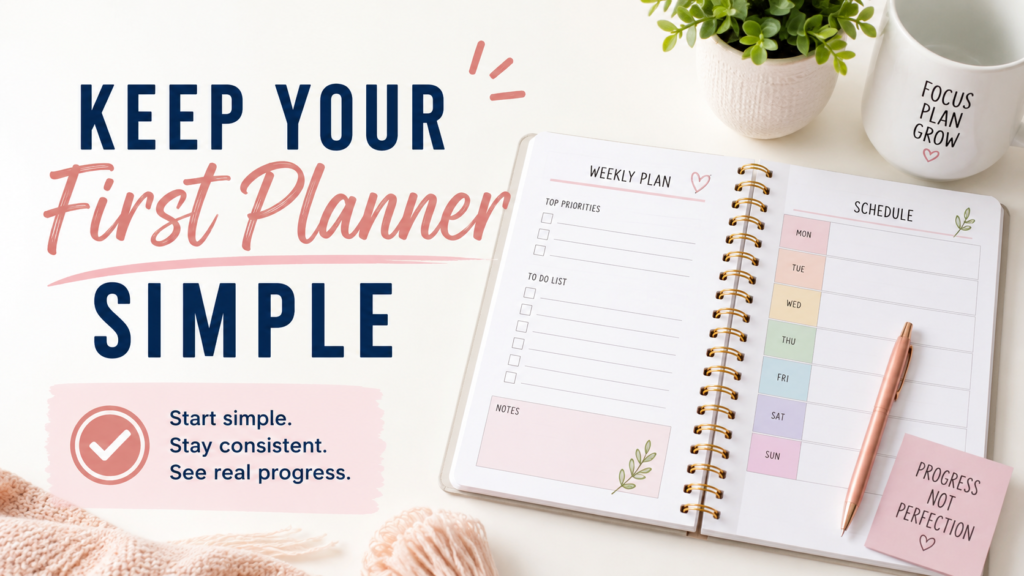
Now that you know how to make a planner in Canva, remember that your first planner does not have to be perfect. It simply needs to be complete. A clean five-page planner that solves one real problem is an excellent place to start.
As your confidence grows, you can create matching trackers, checklists, and planner bundles. You can also save your favorite layouts as Canva templates, making it faster and easier to create your next digital product.
The most important step is to get started. Open Canva, choose one planner idea, and design your cover. Every successful digital product begins with a single finished page, and completing your first planner proves you can create something people will genuinely find useful.
This planner is just one type of digital product. For a complete beginner’s guide, see How to Make Digital Products With Canva and AI.

Don’t Know What to Create?
Most beginners don’t fail because they lack talent.
They fail because they’re overwhelmed by too many ideas.
Download the Free Niche Planner Checklist and discover a digital product idea you can actually build.
