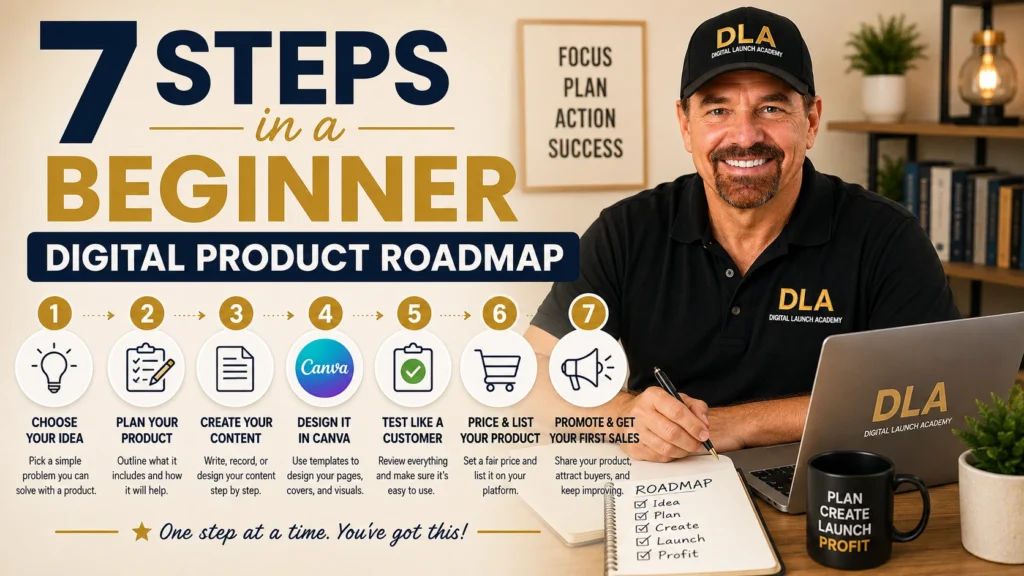
You do not need to build a big website, become a designer, or spend weeks learning technology before you begin. A beginner digital product roadmap gives you a simple path: choose one useful idea, make one small product, and put it in front of people who need it. Your first product does not need to be perfect. It just needs to be clear, helpful, and finished.
What Is a Digital Product?
A digital product is something a customer buys and receives online. There is nothing to package or mail. For a beginner, the easiest products are usually simple PDF files, such as a planner, checklist, tracker, template, or short guide.
For example, you could create a weekly meal planner for busy families, a medication tracker for seniors, a cleaning checklist for new homeowners, or a budget worksheet for people trying to save money. These products solve a small problem in an organized way.
You are not trying to create a 100-page book. You are helping someone save time, remember a task, or feel less stressed.
Your action: Write down three everyday problems you understand from your own life, work, hobbies, or family.
Your Beginner Digital Product Roadmap
Follow these seven steps in order. Try not to skip ahead. Each small step makes the next one easier.
Step 1: Choose One Person to Help
Many beginners get stuck because they try to make a product for everyone. A product becomes much easier to create when you picture one type of person.
Start with a simple sentence: “I want to help [person] with [small problem].”
Here are a few examples:
- I want to help busy moms plan simple dinners.
- I want to help retirees keep track of monthly bills.
- I want to help new dog owners remember puppy care tasks.
- I want to help side hustlers organize their weekly goals.
Choose something familiar. You do not need to be the world’s top expert. If you have found a practical way to stay organized or handle a common task, that knowledge can help someone else.
Keep the problem small. “Help people get healthier” is too broad. “Help people track their water intake for 30 days” is simple and useful.
Your action: Finish this sentence: “I want to help ________ with ________.”
Step 2: Pick the Simplest Product Format
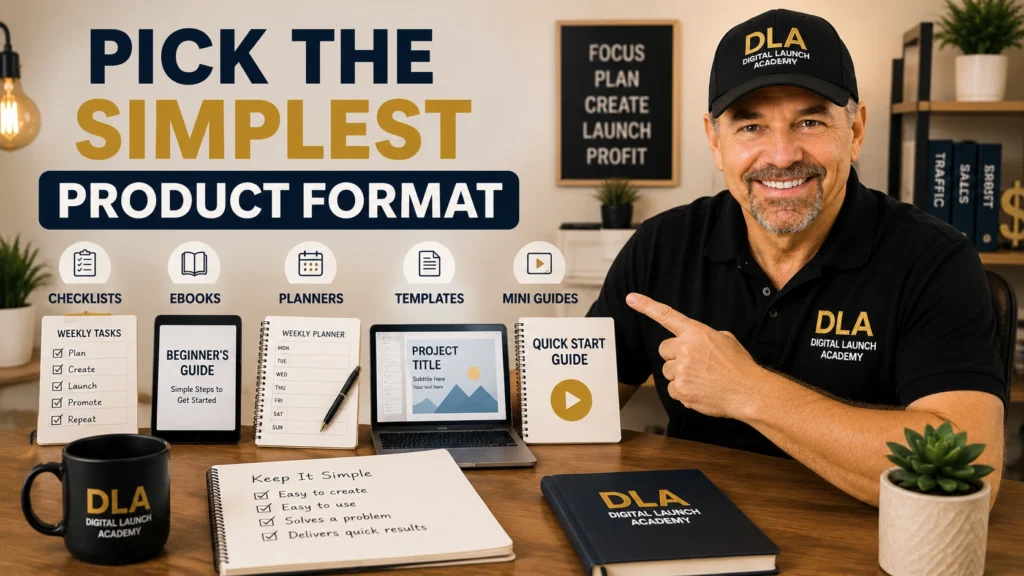
Now match the problem to an easy format. A printable checklist works well for tasks with clear steps. A tracker works well for habits, savings, appointments, or health routines. A planner works well when people need to organize days or weeks. A short guide works well when someone needs instructions.
For your first product, keep it small enough to complete in a day or two. One to five pages is plenty. A simple product gives you a chance to practice creating, listing, and selling without feeling buried under work.
If your idea is a weekly cleaning plan, a one-page checklist and a weekly schedule may be enough. You can always create a larger bundle later, after you know people like the topic.
Your action: Choose one format: checklist, tracker, planner, template, or short guide.
Step 3: Plan the Pages Before Opening Canva
It is tempting to open Canva and start moving colors and fonts around. That can turn into hours of work with little progress. Plan your pages first using a notebook, a blank document, or a simple note on your phone.
Write the title of your product. Then list what each page will help the buyer do. For a 30-day water tracker, your plan might be a cover page, an instruction page, and four weekly tracking pages. For a meal planner, it might be a cover page, a weekly menu page, a grocery list page, and a recipe notes page.
Ask yourself one question: “Would a beginner know exactly what to do with this page?” If the answer is no, add a short label or instruction.
You can also use AI for a first draft. Type a clear request such as: “Create 20 simple checklist items for a weekly home cleaning checklist for busy adults.” Read the results carefully, remove anything that does not fit, and rewrite the words in your own clear style. AI can save time, but you are still the editor.
Your action: Sketch the title and pages for your product before you design anything.
Step 4: Create Your Product in Canva
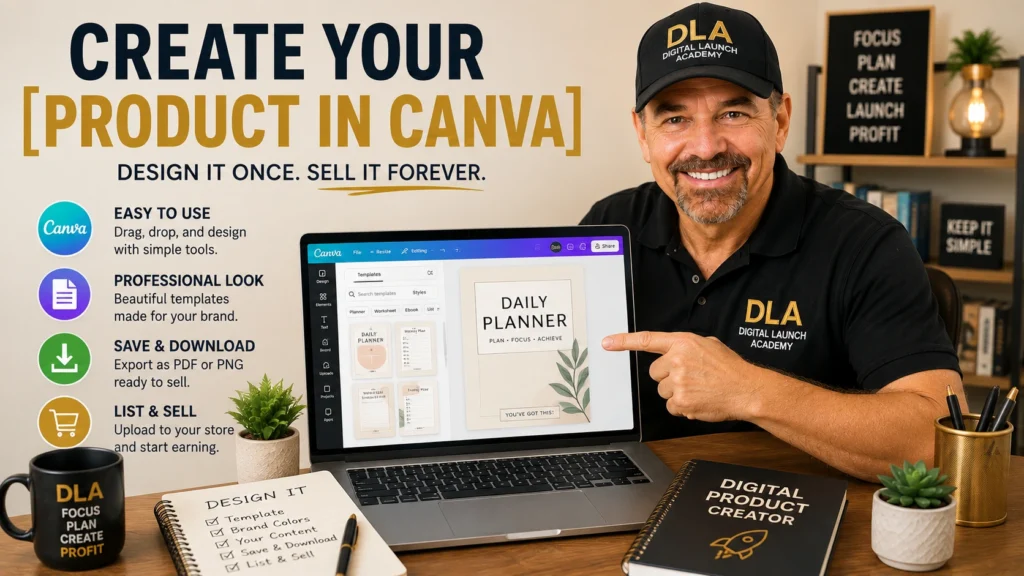
Canva is a beginner-friendly design tool with a free option. You do not need graphic design experience. Start by searching Canva for the type of product you are making, such as “weekly planner,” “checklist,” or “habit tracker.” Choose a clean template with plenty of white space and easy-to-read text.
Then make it yours. Replace the sample title with your title. Change the sample words to your own helpful content. Pick two colors you like and one or two simple fonts. That is enough. Too many colors, fonts, and decorations can make a useful product harder to use.
Use large text for headings. Leave space for people to write if the product will be printed. Before you download, check every page for spelling mistakes, tiny text, and empty boxes that should have words in them.
When it looks clear, choose Share, then Download, and select PDF Print for a printable product. Save the file in a folder with a name you will recognize later, such as “Weekly Meal Planner Final PDF.”
Your action: Open Canva and choose one simple template that matches your product format.
Step 5: Test It Like a Customer Would
Testing is a small step that protects you from avoidable mistakes. Download your PDF and open it on your computer or phone. If it is meant to be printed, print one page if possible.
Look at it as if you paid for it. Can you read every word? Is the title clear? Are there enough lines or boxes to write in? Does the product do what the listing will promise?
If you can, ask one trusted person to look at it. Do not ask, “Do you like it?” Ask, “Is anything confusing?” That question usually gives you more useful feedback.
Do not wait for every detail to feel perfect. Make the obvious fixes, then move forward. Your first product is a learning project as much as it is a product for sale.
Your action: Review your PDF once from start to finish and fix three things, if needed.
Step 6: Set a Simple Price and Create Your Listing
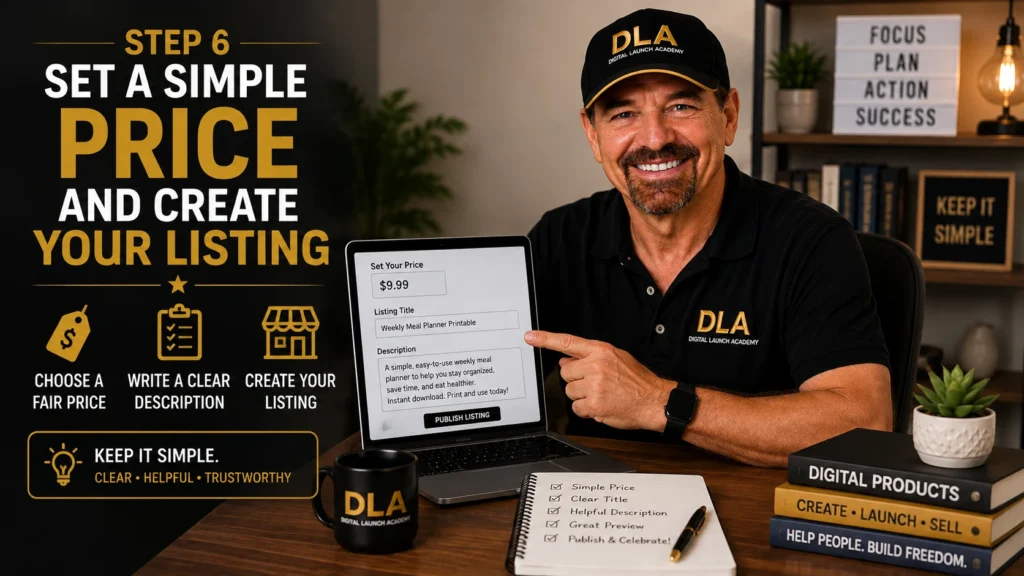
Choose a selling platform that lets you upload a digital file and collect payment. The platform will guide you through setting up a product listing. You do not need a complicated online store at the beginning.
For a small first product, a low, simple price is often easier than trying to guess the “perfect” number. Think about the value of saved time and reduced stress, not just the number of pages. A one-page checklist that makes a busy morning easier can still be useful.
Your listing needs a clear title, a short description, and preview images. In the title, say what the product is and who it helps. For example: “Weekly Meal Planner Printable for Busy Families.”
In the description, explain what the buyer receives, how they can use it, and whether it is a digital download. Be honest. If the product is a PDF, say it is a PDF. If it is not editable, say that too. Clear details prevent unhappy customers.
For preview images, use Canva to show the cover and a few inside pages. Add simple words on the image, such as “Printable PDF,” “Instant Download,” or “Includes Weekly Grocery List.”
Your action: Write a one-sentence title and a three-sentence description for your product.
Step 7: Share It and Learn From the Response
Your first sale may not happen immediately, and that is normal. Selling digital products is not a quick-money promise. It is a skill you build by making helpful products, improving your listings, and learning what people respond to.
Start by sharing your product where your ideal customer already spends time, as long as the group or page allows it. You might also tell friends, family, or coworkers who genuinely fit the audience. Focus on being helpful, not pushy. Explain the small problem your product solves.
Pay attention to questions people ask. If someone asks whether your meal planner includes a grocery list, that may be a clue for your next version or next product. One product can lead to a small collection over time.
At Digital Launch Academy, we encourage beginners to focus on steady progress. One finished product teaches you more than ten ideas sitting in a notebook.
Your action: Choose one appropriate place to share your product this week, then write one helpful post about the problem it solves.
Keep Your First Goal Small
Your goal is not to create a full business overnight. Your goal is to finish one useful digital product and learn the basic process. Some people will prefer planners. Others may enjoy creating trackers, checklists, or simple templates. It depends on what you understand and what your audience needs.
If technology feels unfamiliar, take one step at a time. Today, choose an idea. Tomorrow, plan the pages. The next day, open Canva. Small actions count, and every finished page is proof that you are moving forward.
Your next step is simple: choose one small problem you can help solve, and write the product title before the day ends.
Don’t Know What to Create?

Most beginners don’t fail because they lack talent.
They fail because they’re overwhelmed by too many ideas.
Download the Free Niche Planner Checklist and discover a digital product idea you can actually build.
