You have finished your planner, checklist, template, or guide. That is a big win. Now comes the digital download file setup: getting your product ready so a customer can receive it, open it, and use it without confusion.
This step can sound technical, but it does not have to be. You do not need coding skills, expensive software, or a fancy computer. You only need a clear file, a simple name, and a few minutes to test it before you sell it.
What Is a Digital Download File Setup?
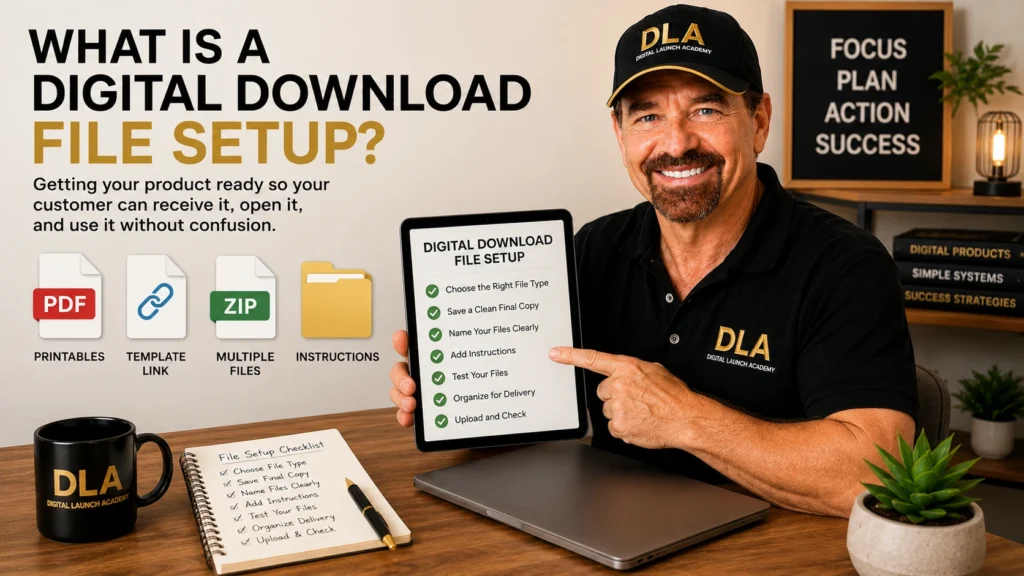
A digital download is a product your customer receives online instead of in the mail. It might be a printable meal planner, a budget tracker, a Canva template, or a short guide.
Your file setup is the way you prepare that product for delivery. It includes choosing the right file type, saving it properly, giving it a helpful name, and making sure it works.
Think of it like packing a gift before giving it to someone. The gift may be wonderful, but it still needs to be placed in a box and labeled clearly.
Your action: Open the folder on your computer where you saved your finished product. This is where you will prepare your final files.
Step 1: Choose the Right File Type
The best file type depends on what your customer is buying. Start simple. Most beginner digital products use a PDF file.
Use PDF for printables and guides
A PDF is a file that keeps your pages looking the same when someone opens or prints them. It is a great choice for:
- Planners
- Checklists
- Worksheets
- Trackers
- Journals
- Ebooks and simple guides
If you made your product in Canva, click Share, then Download. Choose PDF Print if your customer may print the pages. Choose PDF Standard for a smaller file when the product is mostly read on a screen.
For most printable products, PDF Print is the safest choice. The file may be larger, but the pages will look sharper when printed.
Use a Canva template link for editable products
If customers should change the words, colors, or photos themselves, they need a Canva template link. For example, you might sell an editable social media post pack or an editable party invitation.
In Canva, open your finished design. Click Share, then look for the option to create a template link. Copy that link and save it in a simple document. Your customer will need clear instructions telling them to click the link and make their own copy.
Do not give customers your original working file. A template link lets them use a copy while your master design stays safe.
Use ZIP only when you have several files
A ZIP file is like a folder that holds several files together. You might use one if your product includes a planner, a cover page, printing instructions, and bonus pages.
If you have only one PDF, do not create a ZIP file. Keeping it simple makes life easier for your customer.
Your action: Decide whether your product needs a PDF, a Canva template link, or a ZIP folder. Choose one based on how the customer will use it.
Step 2: Save a Clean Final Copy
Before you download anything, make one final check inside your design. Look for spelling mistakes, blank pages, pages in the wrong order, or text that is too close to the edge.
Then save two versions of your work:
- Your master copy is the version you keep and edit later if needed.
- Your customer copy is the finished file you will deliver.
This small habit protects your work. If a customer asks for a change later, you can return to your master copy instead of trying to fix a downloaded file.
For example, you might name your master design `Weekly Meal Planner MASTER` inside Canva. Your customer file could be `Weekly-Meal-Planner.pdf`.
Keep your master files in one folder that is only for your business. Do not upload the master file by mistake.
Your action: Create a folder called `Digital Product Masters` on your computer. Place your original Canva links or editable files there.
Step 3: Name Your Files Clearly
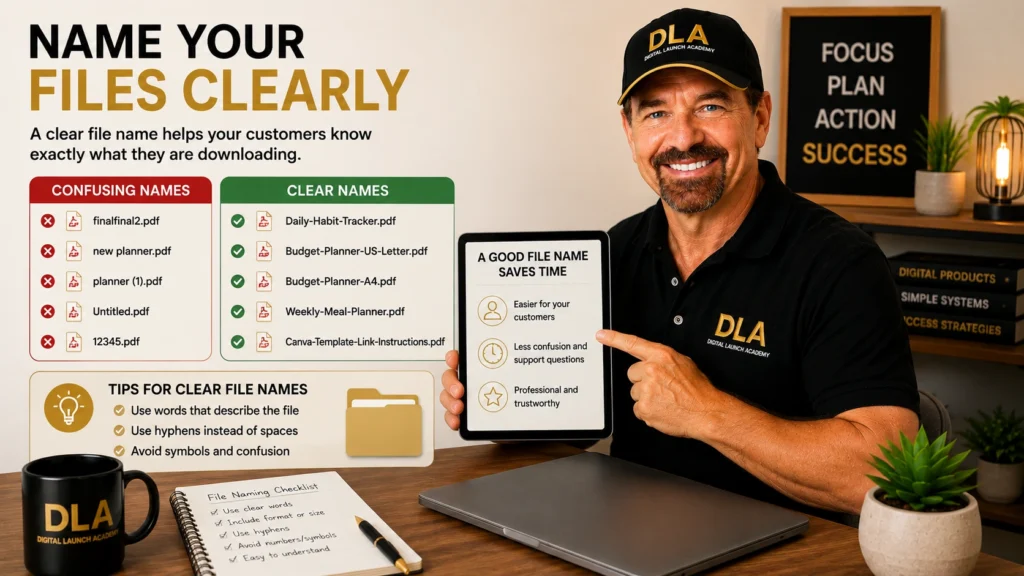
A confusing file name creates unnecessary customer questions. Names like `finalfinal2.pdf` or `new planner.pdf` may make sense to you today, but they will not help a buyer later.
Use a simple name that tells the customer exactly what the file is. Include the product name and, if helpful, the size or version.
Here are a few easy examples:
- `Daily-Habit-Tracker.pdf`
- `Budget-Planner-US-Letter.pdf`
- `Budget-Planner-A4.pdf`
- `Canva-Template-Link-Instructions.pdf`
Use hyphens instead of lots of spaces when you can. Avoid symbols such as slashes, question marks, or stars. Some systems do not handle those symbols well.
If your printable comes in both US Letter and A4 paper sizes, label each one. US Letter is common in the United States. A4 is common in many other countries. Clear labels help customers print the right version the first time.
Your action: Rename your final customer file so someone can understand it without opening it.
Step 4: Add a Simple Instruction Page
A short instruction page can make your product feel more helpful and professional. It is especially useful for Canva templates, multi-file products, or printables with different paper sizes.
You do not need to write a long manual. One page is enough. Use plain language and tell the buyer what to do next.
For a printable, you might write: “Open the PDF on a computer or phone. Print at 100% or Actual Size. Do not select Fit to Page unless you want the size changed.”
For a Canva template, you might write: “Click the template link. Sign in to your free Canva account or create one. Click Use Template. Edit your own copy. Your purchase does not include a physical item.”
You can create this page in Canva and add it to the beginning or end of your PDF. If your product has several files, save the instructions as its own PDF and place it inside the ZIP folder.
Your action: Write three short sentences that explain how your customer should open, edit, or print your product.
Step 5: Test the Digital Download File Setup
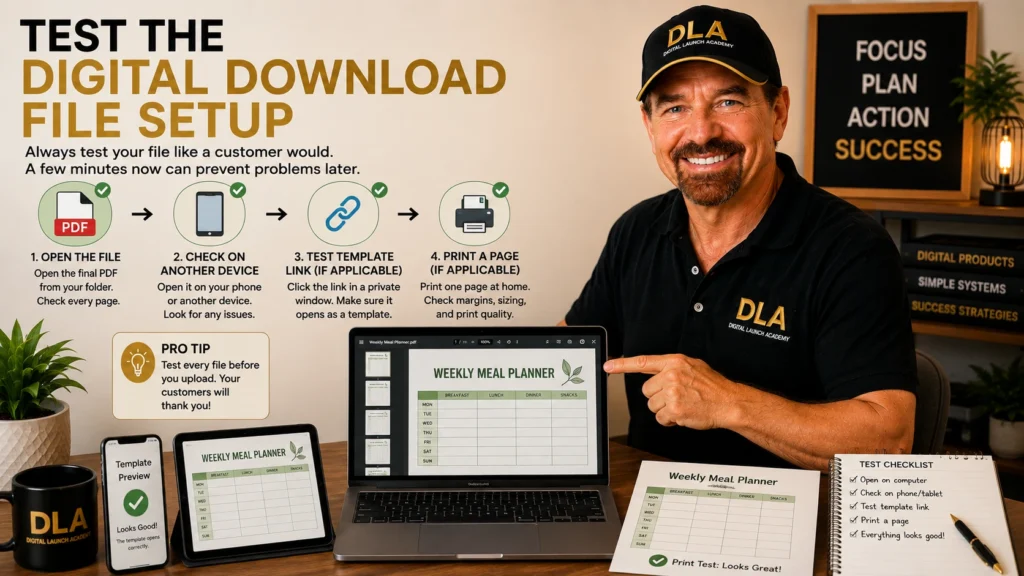
Never assume a file works just because it downloaded successfully. Test it like a customer would.
First, open the finished PDF from your computer folder. Check every page. Make sure images are clear, pages are in the right order, and no text has disappeared.
Next, if possible, open it on your phone or another device. This helps you spot problems that may not show on your main computer.
If you are selling a Canva template, click your template link in a private browser window or ask a trusted friend to test it. You want to make sure it opens as a template, not as your original design.
For printable products, print one page at home if you can. Check that the margins look right and that lines, boxes, and writing spaces are easy to use. A small test now can prevent refund requests later.
Your action: Open your final file on a second device today. If you find one mistake, fix it before moving forward.
Step 6: Organize the Files You Will Deliver
Create one delivery folder for each product. Give it the same name as your product so you can find it quickly later.
For example, a folder called `Weekly Meal Planner Delivery Files` might include the planner PDF and a one-page printing guide. If there are multiple files, compress that folder into a ZIP file before uploading it to your selling platform.
Keep the delivery folder separate from your master folder. This reduces the chance of sending customers drafts, old versions, or editable originals.
It also helps to add a version number when you update a product. For example, `Daily-Habit-Tracker-v2.pdf` tells you that it is the newer file. Customers do not always need to see the version number, but it can keep your own files organized.
Your action: Make one delivery folder now and place only customer-ready files inside it.
Step 7: Upload and Check What the Customer Receives
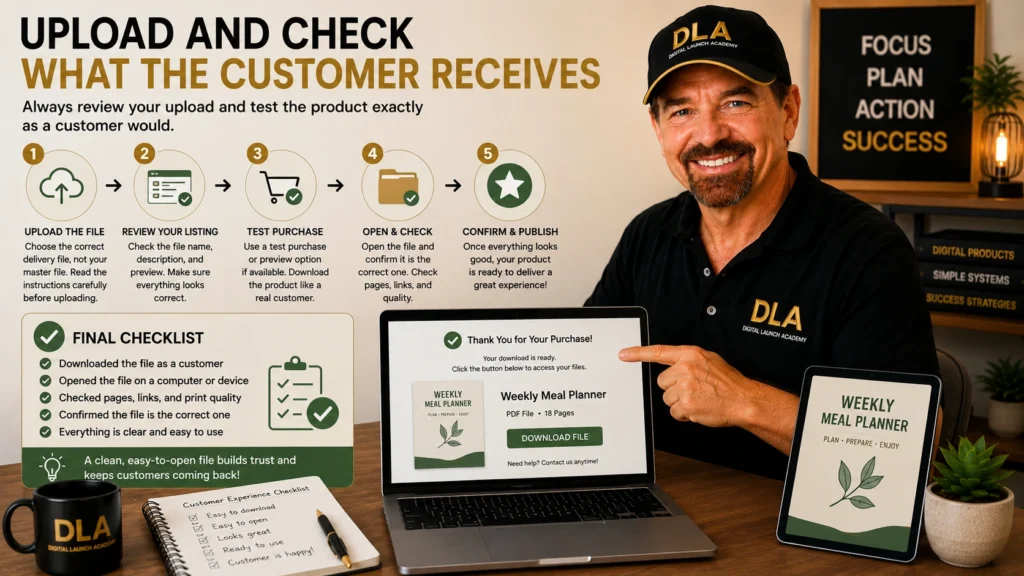
When you upload your file to a selling platform, read the upload screen slowly. Choose the delivery file, not your master file. Then save your listing and review it one more time.
If the platform allows a test purchase or preview, use it. Download the product exactly as a customer would. Open the file and confirm it is the correct one.
This final check may feel repetitive, but it builds trust. A customer who receives a clean, easy-to-use file is more likely to enjoy the product and buy from you again.
At Digital Launch Academy, we encourage beginners to treat this as a simple routine, not a scary technical task. Each product gets the same careful check. Soon, it will feel natural.
A Small Setup Task That Builds Real Confidence
Your first file setup does not need to be perfect. It only needs to be clear and usable. Start with one product, one file type, and one test.
When you prepare your files with care, you are doing more than organizing a folder. You are creating a better experience for the person who trusted you enough to buy your work. Take the next small step: download your final PDF, name it clearly, and open it once as your customer would.
Don’t Know What to Create?

Most beginners don’t fail because they lack talent.
They fail because they’re overwhelmed by too many ideas.
Download the Free Niche Planner Checklist and discover a digital product idea you can actually build.
